
This lesson is made with PSPX9
But is good with other versions.
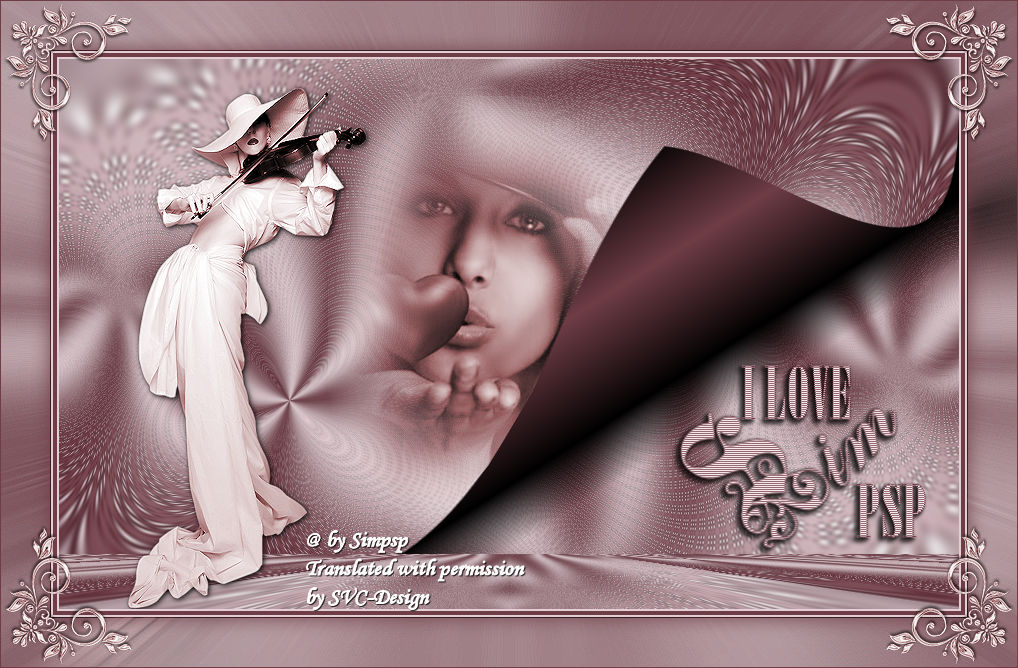
© by SvC-Design
Materialen Download :
Here
******************************************************************
Materials:
1048 - violinist - LB TUBES.png
2401 - beautiful faces - Misted - LB TUBES.png
decor_byAnaMariaC.png
wordart_i_love_simpsp_byAnaMariaC.png
******************************************************************
Plugin:
Plugins - Mehdi - Wavy Lab 1.1
Plugins - Penta.com - Dot and Cross
Plugins - Flaming Pear - Flexify 2
Plugins - MuRa's Meister - Perspective Tiling
******************************************************************
color palette
:
******************************************************************
methode
When using other tubes and colors, the mixing mode and / or layer coverage may differ
******************************************************************
General Preparations:
First install your filters for your PSP!
Masks: Save to your mask folder in PSP, unless noted otherwise
Texture & Pattern: Save to your Texture Folder in PSP
Selections: Save to your folder Selections in PSP
Open your tubes in PSP
******************************************************************
We will start - Have fun!
Remember to save your work on a regular basis
******************************************************************
1.
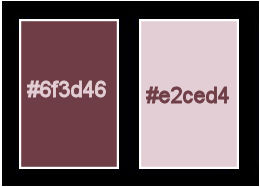
Choose two colors to work with.
Foreground: #6f3d46
Background: #e2ced4
2.
Open a new transparent image of 900x550 px.
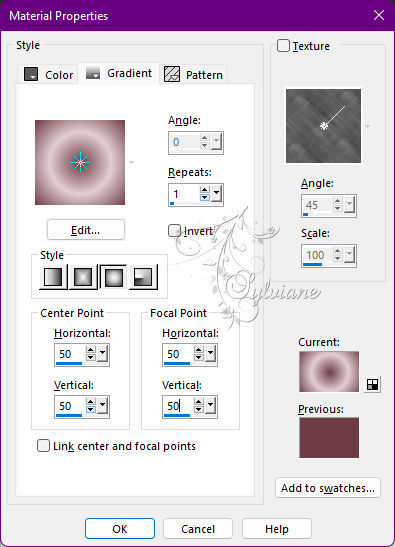
3.
Fill with a Sunbust gradient, formed by the chosen colors
4.
Plugins - Mehdi - Wavy Lab 1.1
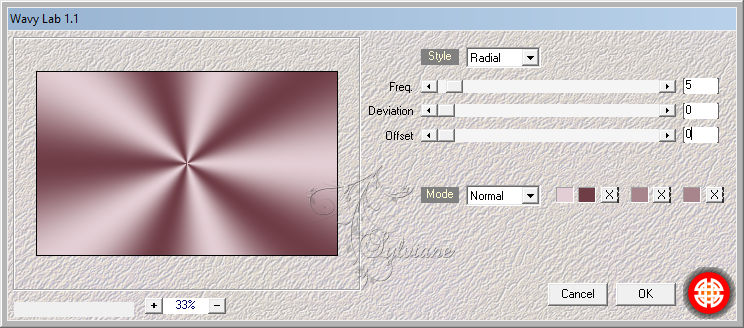
Note: Do not change colors, colors will be set according to the colors chosen.
5.
Adjust - Blur - Gaussian Blur: 25
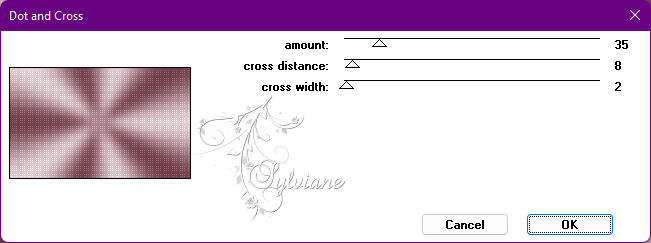
6.
Plugins - Penta.com - Dot and Cross
7.
Effects - Edge Effects - Enhance.
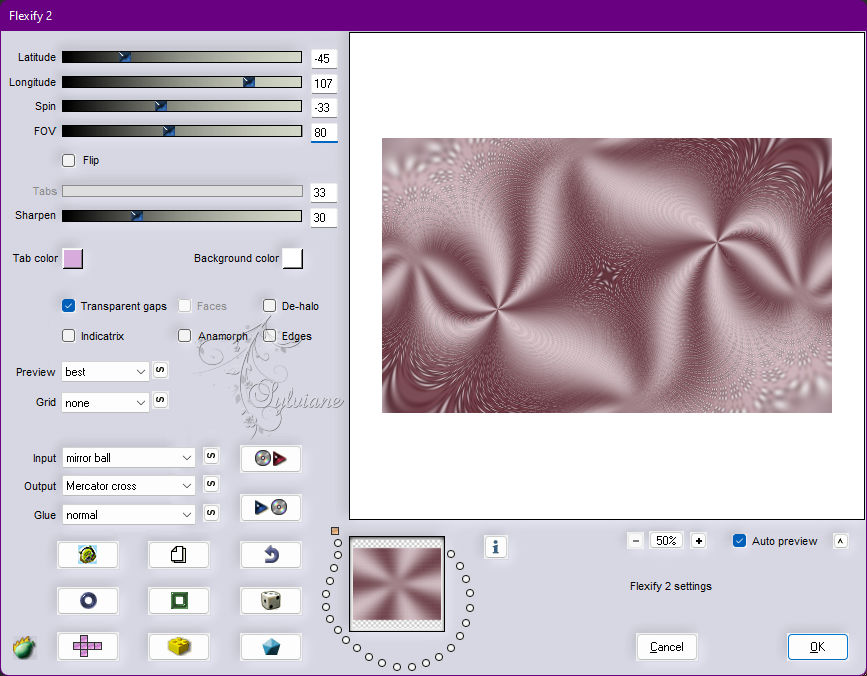
8.
Plugins - Flaming Pear - Flexify 2
9.
Layers - Duplicate.
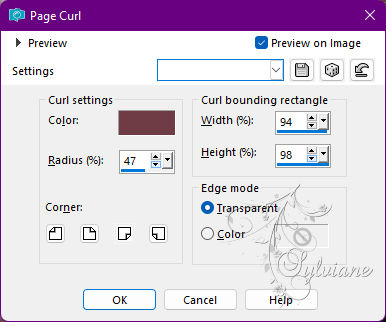
10.
Effects - Image Effects - Page Curl
Color: #6f3d46 (Foreground)
11.
Activate Layer Raster 1.
12.
Layers - Duplicate.
13.
Layers - Arrange - Bring to Top.
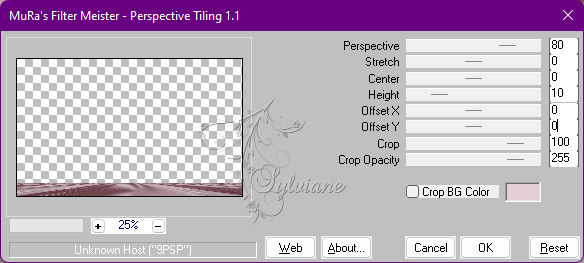
14.
Plugins - MuRa's Meister - Perspective Tiling
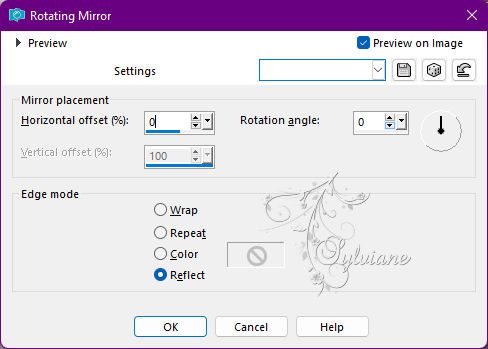
15.
Effects - Reflection Effects - Rotating Mirror: Default
16.
Open 2401 - beautiful faces - Misted - LB TUBES.png
Edit - Copy
Edit - Paste as New Layer.
Image - Resize if necessary.
17.
Position as in the model.
Activate the Freechand Selection and select as an example
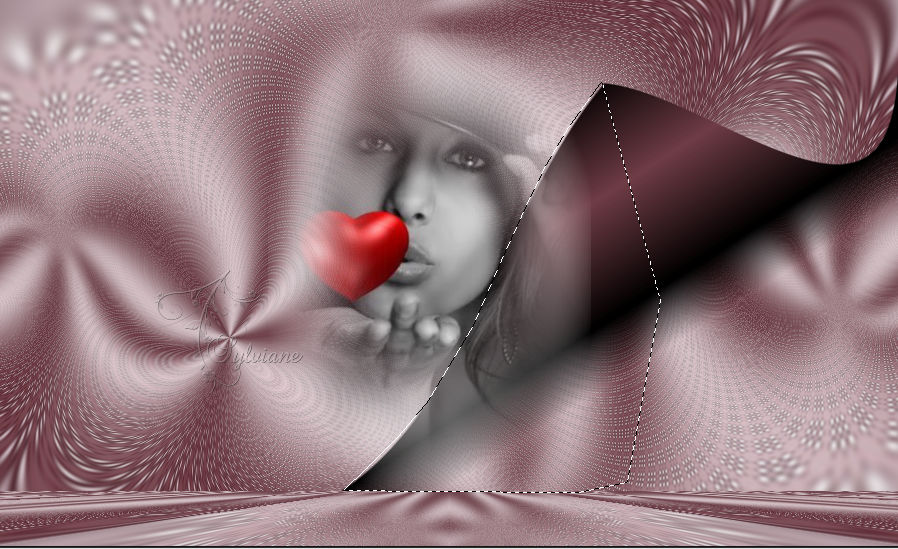
18.
Press the Delete key to remove the shadow or part of the misted
that stay on the effect of Page Curl.
19.
Selections - Select None.
20.
Adjust - Hue and Saturation - Colorize

Note: In Hue use the setting that best matches the colors you choose from your work.
Adjust - Sharpness - Sharpen.
21.
Open the main tube.
Edit - Copy
Edit - Paste as New Layer.
Image - Resize if necessary.
Adjust - Hue and Saturation - Colorize in the same settings as the previous step.
Adjust - Sharpness - Sharpen.
Position to the left.
Effects - 3D Effects - Drop Shadow of your choice.
22.
Open wordart_i_love_simpsp_byAnaMariaC.png
Edit - Copy
Edit - Paste as New Layer.
23.
Activate selection tool (Press K on your keyboard)
And enter the following parameters:
Pos X :615 – Pos Y : 304
Press M.
24.
Effects - 3D Effects - Drop Shadow
2/-2/100/5 color:#000000
25.
Image – Add Borders –symmetric - 2 px > color: #e2ced4 (Background).
Image – Add Borders –symmetric - 4 px > color: #6f3d46 (Foreground).
Image – Add Borders –symmetric - 2 px > color: #e2ced4 (Background).
26.
Edit - Copy.
Selections - Select All.
27.
Image – Add Borders –symmetric - 50 px with any color.
28.
Selections - Invert.
Edit - Paste Into Selection.
29.
Adjust - Blur - Radial Blur
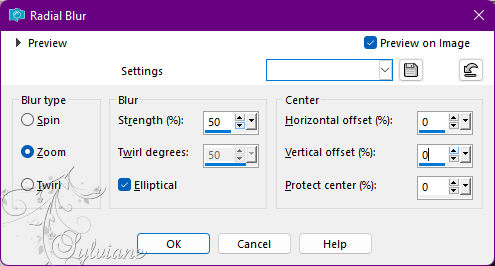
Edit - Repeat Radial Blur.
30.
Effects - Edge Effects - Enhance More.
31.
Selections - Invert.
Effects - 3D Effects - Drop Shadow:
0/0/100/30 - Color: #6f3d46 (Foreground)
Selections - Select None.
32.
Open decor_byAnaMariaC.png
Edit - Copy
Edit - Paste as New Layer.
Adjust - Hue and Saturation - Colorize in the same settings already applied.
33.
Image – Add Borders –symmetric - 1 px - color: #6f3d46 (Foreground).
34.
Apply your watermark or signature
Layer – merge – merge all (flatten)
Save as JPEG
Back
Copyright Translation © 2022 by SvC-Design